Ridge cap shingles serve as the first line of defense at the highest point of a roof, where two sloped sections meet to form a peak. These specially designed shingles protect one of the most vulnerable areas of any roofing system from water infiltration, wind damage, and harsh weather conditions. Without properly installed ridge caps, even a well-constructed roof remains susceptible to leaks and premature deterioration.
Installing ridge cap shingles requires having specific knowledge of materials, tools, and techniques that differ from standard shingle installation. The process involves understanding the various ridge cap shingle types available, mastering ridge cap cutting techniques for a precise fit, and knowing exactly where to place roofing nails for maximum hold. Asphalt shingle ridge caps remain the most common choice for residential roofing projects due to their durability and ease of installation.
Proper roof ridge ventilation also plays a critical role in the installation process, as it affects both the longevity of the roofing materials and the energy efficiency of the home. The right combination of ventilation and correctly installed ridge caps creates a roofing system that protects against the elements while allowing necessary airflow. Learning the correct installation methods ensures a professional finish that stands up to years of exposure.
Understanding Different Ridge Cap Shingle Options for Your Project
Ridge cap shingles fall into two main categories that each offer distinct advantages depending on the specific roofing project. Pre-formed ridge cap shingles come ready to install from the manufacturer, featuring a factory-applied crease that allows them to bend perfectly over the ridge line. These products provide a consistent appearance and faster installation since they eliminate the need for on-site cutting and preparation. This approach works well when matching existing roofing materials or when working with limited budgets, though it requires more time and precise ridge cap cutting techniques to achieve professional results.
Asphalt shingles differ significantly from architectural shingles in both thickness and flexibility. Standard ridge caps measure thinner and bend more easily to conform to roof angles, while architectural shingles feature multiple layers that create dimensional texture but resist bending. Selecting ridge caps that match the color and style of existing roof shingles ensures visual continuity across the entire structure. The thickness of architectural shingles makes them less suitable for ridge applications without proper modification. Understanding these material differences helps in choosing products that complement the main roofing system while providing adequate protection. Proper roofing nail placement becomes especially important when working with thicker materials to ensure secure attachment without damaging the shingles.
Essential Tools and Materials You Need Before Starting
A successful ridge cap installation requires assembling the proper tools before beginning any work on the roof. A quality roofing hammer or pneumatic nail gun provides the primary means of fastening ridge caps securely to the roof deck. A chalk line helps establish straight reference lines along the ridge for consistent shingle placement, while a utility knife with plenty of replacement blades handles all necessary ridge cap cutting techniques. A measuring tape and carpenter’s square ensure accurate measurements throughout the project. A pry bar assists with removing old ridge caps during replacement projects, and tin snips help trim metal drip edge or flashing as needed.
Safety equipment is one of the most critical components of any roofing project and should never be overlooked. A properly fitted safety harness with anchor points prevents falls from steep or high roof surfaces. Non-slip roofing shoes provide essential traction on shingled surfaces, especially when conditions become wet or dewy. Heavy-duty work gloves protect hands from sharp edges and hot surfaces during summer installations. Safety glasses shield eyes from debris during cutting operations, and knee pads reduce strain during extended periods of work along ridge lines.
Calculating material quantities accurately prevents project delays and ensures adequate supplies remain on hand. Measuring the total length of all ridges and hips on the roof provides the baseline figure for material calculations. Adding 10% extra accounts for waste from ridge cap cutting techniques and potential mistakes during installation. Roofing nail placement typically requires four nails per shingle, with nails positioned one inch from each edge and 6 inches apart.
Preparing Your Roof Ridge for Proper Ventilation and Installation
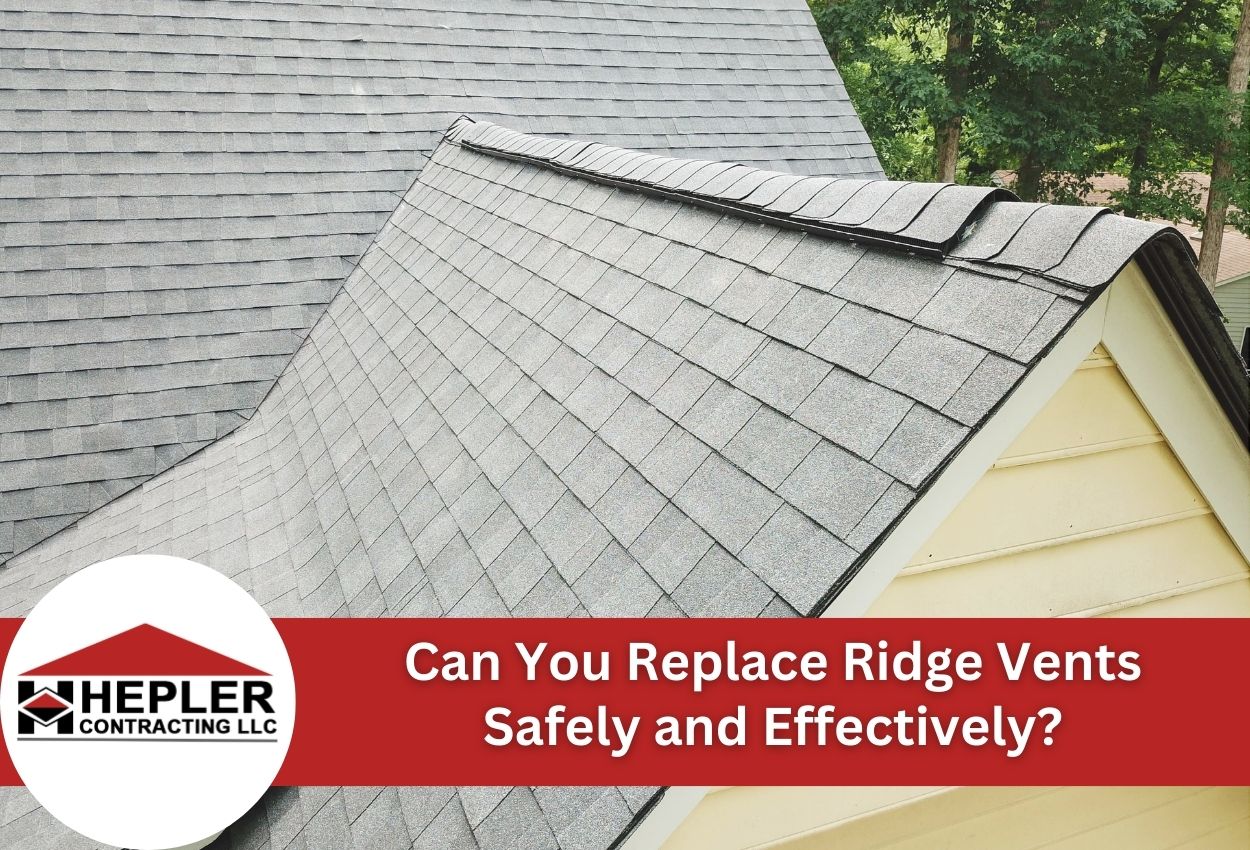
Roof ridge ventilation creates a critical pathway for hot air to escape from attic spaces while allowing cooler air to enter through soffit vents below. Ridge vents are installed at the peak of the roof and then covered with ridge cap shingles to complete the ventilation system. These vents feature a low-profile design that remains hidden beneath the ridge caps once installed. The combination of proper ventilation and ridge cap shingles protects the roof while reducing cooling costs during warm months. Installing ridge vents requires cutting a continuous slot along both sides of the roof peak, typically measuring between 1 and 3 inches wide, depending on the manufacturer’s specifications.
The ridge vent sits directly over this opening and gets secured to the roof deck with roofing nails before any ridge cap shingles get applied. This ventilation system works when adequate intake vents exist at the eaves or soffits to create balanced airflow through the attic space. Without proper intake ventilation, ridge vents cannot function effectively, regardless of how well they integrate with the ridge cap system. Understanding this relationship between intake and exhaust ensures the entire roofing system performs as designed.
Cleaning the roof ridge removes debris that interferes with proper adhesion and creates an uneven surface for new materials. A stiff brush sweeps away loose granules, dirt, and organic matter that accumulates along the ridge line over time. Inspecting the ridge board and surrounding decking identifies any rot, damage, or soft spots that require repair before proceeding with installation. Any compromised decking needs replacement to provide a solid backing for roofing nail placement. Checking for protruding nails and hammering them flush prevents interference with new ridge cap shingles.
The Ridge Cap Installation Process
Achieving truly clean, straight ridge-cap pieces requires precise cutting, as any deviation can compromise the roof’s protective capability. In the case of 3-tab shingles, you must separate each tab exactly along the factory perforations with a utility knife and straightedge. One wrong cut or ragged edge can lead to a poor fit that prematurely exposes your ridge line to leaks. With asphalt ridge caps lacking perforations, you then have to measure and mark every piece at identical intervals to maintain uniform size, and a dull blade or unstable work surface will leave torn edges or slight mistakes that allow gaps or overlaps when installed. For the ridge of a roof, one of the most vulnerable seams, these details matter. A professional roofer not only brings sharper tools and a controlled surface but also the experience to anticipate overlaps, wind uplifts, and sealing issues that most homeowners don’t account for.
Starting the installation from the end opposite prevailing winds prevents the weather from lifting the exposed edges of each successive piece. Most roofs receive predominant wind from a particular direction, and beginning from the leeward side ensures each new ridge cap overlaps the previous one in a way that sheds wind and water effectively. The first piece gets positioned so it extends slightly beyond the roof edge, typically by ½ an inch, to protect the ridge board beneath. Maintaining consistent overlap spacing between each piece requires measuring and marking reference points along the ridge line before beginning. Standard overlap measures 5 inches of exposed shingle on each piece, though specific ridge cap shingle types may require different exposure rates. Proper roofing nail placement involves driving two nails on each side of the ridge cap, positioned 1 inch from the edge and placed to be covered by the subsequent piece.
Critical Nail Placement and Securing Techniques
Proper nail placement on ridge cap shingles directly impacts the long-term performance and weather resistance of the entire roofing system. Nails should go through the ridge cap and securely into the roof deck below, typically at least ¾ of an inch, to ensure adequate holding power even when ridge vent material is present. The best position for each nail sits approximately 1 inch from each side edge of the shingle and within the area that will be covered by the next overlapping ridge cap piece. Each ridge cap requires a minimum of 2 nails total, positioned near each end of the shingle, though some wider or high-wind-rated profiles may call for additional fasteners as specified by the manufacturer. The nails should land in the area that will be covered by the next overlapping piece, typically within the top 5 inches of each ridge cap.
Driving nails at the correct angle prevents them from going through the visible surface and ensures maximum grip in the roof deck. Nails should enter perpendicular to the roof deck rather than angled toward the ridge line, which maintains straight through all material layers. Over-driving nails creates dimples that collect water and damage the seal, while under-driven nails leave heads exposed that can catch wind and cause lifting. The nail head should sit flush against the shingle surface without breaking through the top layer of asphalt shingle ridge caps. Using a pneumatic nailer with proper pressure settings produces consistent results, though hand-nailing allows greater control for those learning roofing nail placement techniques.
Completing the Installation with Professional Finishing Details
The final ridge cap piece requires special attention to protect the exposed end from wind and water leaks. This last section should extend slightly past the edge of the ridge while remaining trimmed flush with the roof plane to maintain a clean appearance. Applying a bead of roofing cement beneath the edges of this terminal piece creates an additional seal against uplift forces that commonly affect roof peaks. The cement bonds the asphalt shingle ridge caps to the underlying surface without relying solely on mechanical fasteners. Extra nail placement along this end piece provides reinforcement where exposure to weather remains greatest. The nails should penetrate through areas where overlapping material provides double coverage for maximum holding strength.
Walking the entire ridge line after completing the installation identifies any loose pieces or improper roofing nail placement before leaving the roof. Each ridge cap should lie flat against the peak without buckling or gaps between pieces. Pressing down firmly on each section confirms secure attachment and reveals any areas where additional nailing may be needed. Checking that all nail heads sit flush prevents future problems with seal integrity as the roof ages.
Post-Installation Quality Inspection and Ongoing Maintenance
Examining the ridge line from ground level provides perspective on the overall straightness and uniformity of the installation. The ridge caps should form a continuous line without visible waves or irregularities that suggest inconsistent overlap or poor alignment. Inspecting from a closer range confirms that roofing nail placement remains concealed beneath overlapping pieces and that no fasteners go through visible surfaces. All edges should lie flat without lifted corners that might catch wind during storms.
Proper roof ridge ventilation function can be verified by checking airflow from attic spaces during warm weather conditions. Standing in the attic space near the ridge vent while someone observes from outside confirms that air movement occurs through the system. Any blockages in the vent channels should be cleared to restore proper function. The ridge caps should not compress the vent material in ways that restrict airflow through the designated openings.
Regular maintenance extends the functional life of asphalt shingle ridge caps and prevents minor issues from developing into major repairs. Annual inspections identify loose or damaged pieces that need reattachment or replacement before water infiltration occurs. Clearing debris from the ridge line prevents organic material from trapping moisture against the shingles. Heavy accumulations of leaves or branches should be removed promptly to avoid premature deterioration. After severe weather events, checking for displaced or damaged ridge caps allows for immediate repairs that protect the underlying roof structure. These simple maintenance practices keep ridge cap shingle types performing effectively for their full intended lifespan.
Expert Ridge Cap Shingle Installation Services in Pittsburgh
Hepler Contracting LLC specializes in high-quality ridge cap shingle installation, ensuring that your home’s roof is not only nice to look at, but also structurally sound. Our experts are skilled in all roofing techniques, including proper nail placement and ridge cap cutting techniques, which are critical to avoiding future leaks and damage.
Don’t take the risk of improper installation. Call Hepler Contracting LLC today at (412) 694-8785 to ensure your roof is in expert hands. Secure your home with our dependable roofing services and enjoy peace of mind knowing your roof is professionally finished to the highest standards.